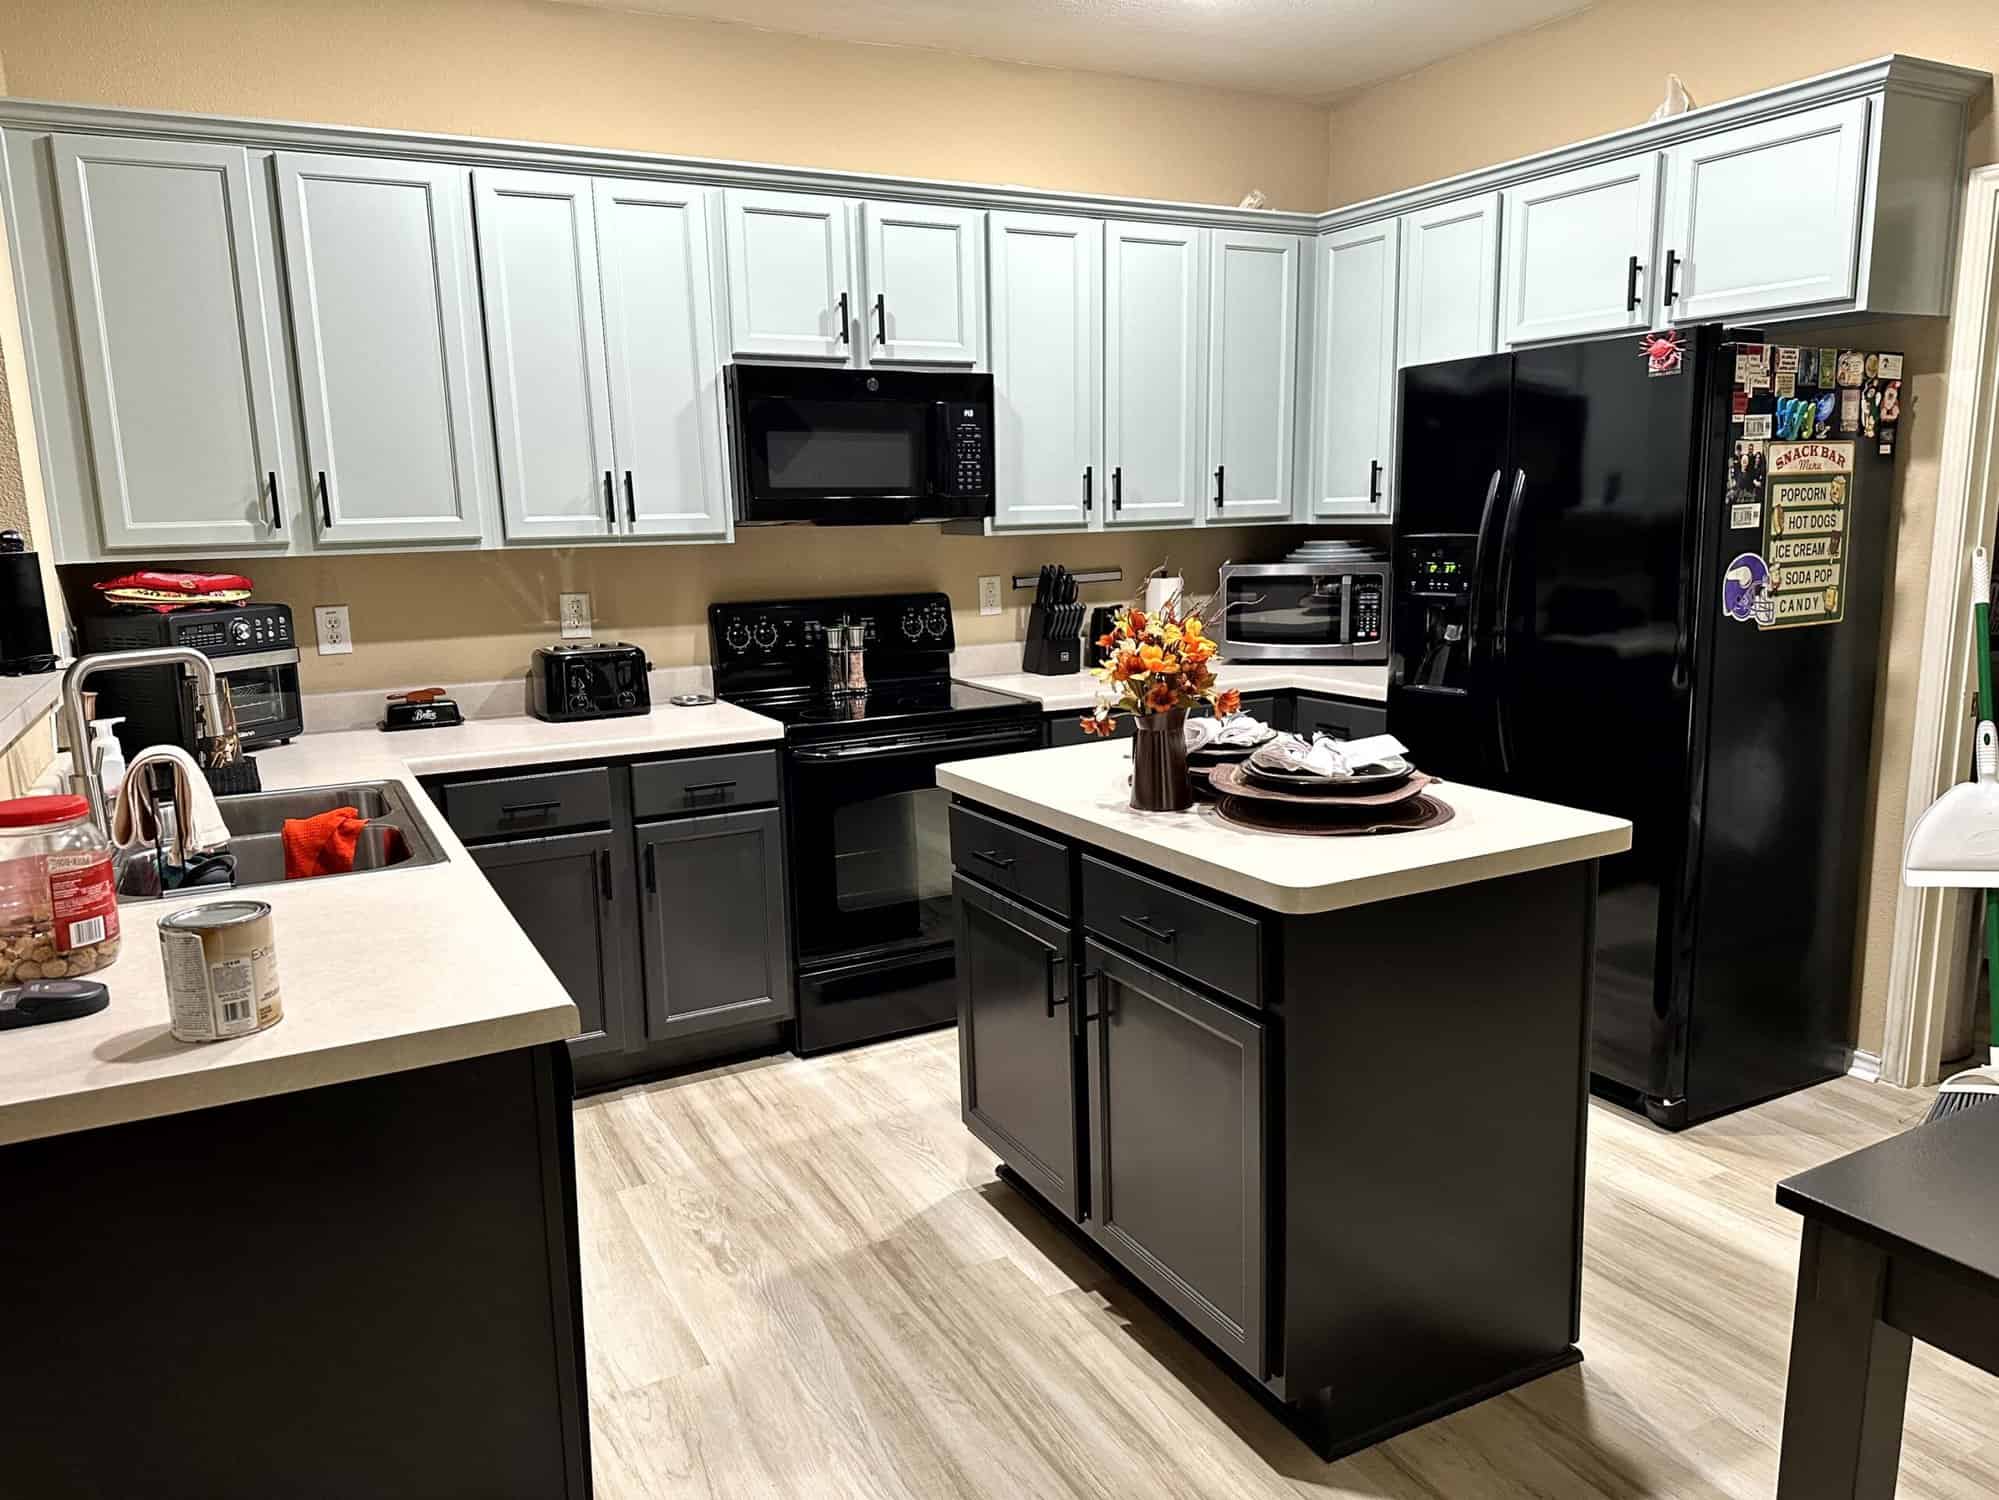
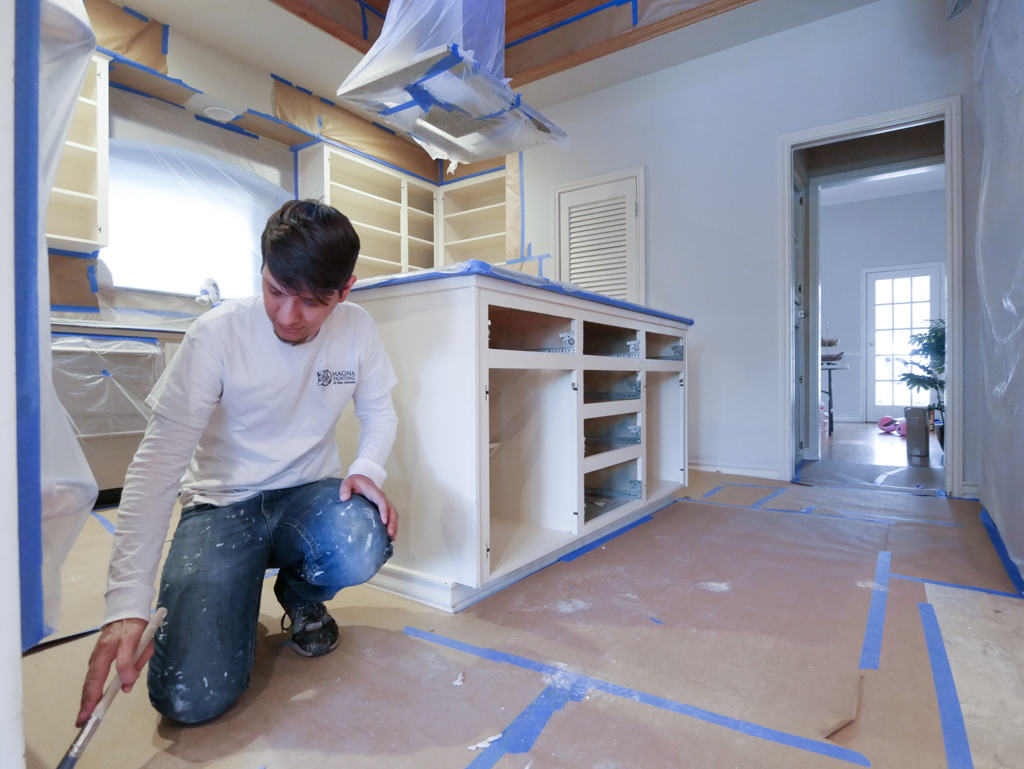
Achieving a flawless finish on cabinets often hinges on proper sanding techniques. As a cabinet painter in Shavano Park, TX, we know how crucial it is to get this step right before painting. Sanding not only prepares your cabinets for a smooth coat but also enhances the longevity of the paint. This guide dives into the essential cabinet sanding techniques for painting, helping you understand how to give your cabinets a professional touch. By the end, you’ll see how the right approach can breathe new life into your kitchen or bathroom.
Key Takeaways
- Proper sanding enhances paint adhesion, ensuring a longer-lasting finish on cabinets.
- Choose the right sandpaper grit for effective surface preparation before painting.
- Clean cabinets thoroughly to eliminate grease and dust before applying paint.
- Inspect and touch up surfaces after sanding for a flawless paint application.
- Maintain optimal conditions for painting to improve adhesion and durability.
Why Proper Cabinet Sanding Matters
When it comes to cabinet painting, many homeowners overlook the sanding process, jumping straight to applying paint. But as a seasoned cabinet painter, we can’t stress enough the importance of this step. Proper sanding creates a surface that paint can adhere to, preventing chipping, peeling, and other common issues that often arise over time.
Cabinet sanding techniques for painting can help reveal surface imperfections that need fixing. Whether you’re dealing with dents, scratches, or uneven spots, sanding is your chance to smooth everything out before the paint touches your cabinets.
Essential Tools for Cabinet Sanding

Gathering the right tools is key to a successful sanding project. Before diving into the cabinet sanding techniques for painting, you’ll want to have these on hand:
- Various Sandpaper Grits: Start with a coarse grit (around 60-80) to remove old paint or rough patches. Move to finer grits (120-220) for a smooth finish. Read more about our blog regarding what grit sandpaper for cabinets is best.
- Hand Sanders or Power Sanders: Hand sanders offer more control for intricate cabinet details, while power sanders speed up the process for large, flat surfaces.
- Dust Mask and Safety Goggles: Always wear these to protect against harmful dust and particles during the sanding process.
As your go-to cabinet painter in Shavano Park, TX, we use top-of-the-line equipment to ensure the best results for our clients.
Cabinet Sanding Techniques for Painting: Step-by-Step Guide
Let’s break down the cabinet sanding techniques for painting to help you understand the process:
1. Remove Doors and Hardware
Start by removing cabinet doors, handles, and hardware. This step allows you to access all surfaces for sanding and painting, giving you a professional-looking finish. Place hardware in labeled bags so they’re easy to reinstall later.
2. Clean Surfaces Thoroughly
Before sanding, it’s crucial to clean the cabinets. Use a gentle degreaser or a mixture of water and mild detergent to remove grease and dirt. Cleaning ensures that dust and grime don’t interfere with the sanding and painting process.
3. Choose the Right Grit Sandpaper
Begin with a coarser grit, such as 60-80, to strip away old finishes or smooth out rough spots. Then, switch to a finer grit (120-220) for final smoothing. This step is essential for ensuring that paint adheres properly. A cabinet painter will often use multiple grits to achieve a surface ready for primer and paint.
4. Sand with Care
When using cabinet sanding techniques for painting, use consistent pressure to avoid creating uneven surfaces. For detailed areas or corners, use sanding sponges or narrow sanding blocks to get into tight spots without damaging the wood.
5. Inspect and Clean
After sanding, use a tack cloth to wipe away any dust or debris. Properly inspecting the surface ensures no dust remains, which is crucial for a flawless paint application. As a professional cabinet painter, we take extra care at this stage to ensure every inch of the cabinetry is dust-free before moving on to priming.
6. Apply Primer
Priming is a must after sanding. It creates a smooth, even base that improves paint adhesion. Make sure to choose a primer that suits the type of paint you’ll be using. Our cabinet painters in Shavano Park, TX, can guide you in selecting the right products for long-lasting results.
Advanced Sanding Tips for a Professional Finish
To achieve a truly professional look, consider these advanced sanding tips:
- Use Wet Sanding: Wet sanding reduces dust and helps achieve an ultra-smooth surface. Simply dampen the sandpaper and gently sand the cabinets for a polished finish.
- Sand Between Coats: Lightly sand between primer and paint coats with a fine grit (around 220). This step eliminates imperfections and creates a base for the final coat to adhere perfectly.
- Use a Tack Cloth: Always finish sanding with a tack cloth to remove every particle of dust. This ensures your cabinets are pristine before the paint application.
Why Choose a Cabinet Painter in Shavano Park, TX?
Sanding may seem straightforward, but achieving a professional finish requires the right skills, tools, and techniques. By hiring a cabinet painter, you’re not just saving yourself time—you’re investing in a high-quality finish that lasts.
Our cabinet painters use industry-leading techniques, ensuring every cabinet door and surface is perfectly prepped for painting. We understand the local climate and how it affects paint durability, selecting the best products and methods suited for homes in Shavano Park.
Preparing for Painting Perfection
Now that you’ve mastered the cabinet sanding techniques for painting, it’s time to prepare for painting. Here’s a quick recap of the steps you need to take:
- Thoroughly Remove Dust: Use a vacuum or tack cloth to eliminate dust from the surface after sanding.
- Prime the Cabinets: Apply a suitable primer to the sanded surface. This step enhances paint adhesion, ensuring a long-lasting finish.
- Inspect Before Painting: Wipe down the cabinets one last time to ensure there are no lingering imperfections or dust.
Bring Your Vision to Life with Magna Painting
Achieving a perfect cabinet finish takes time, patience, and the right techniques. But if you want to avoid the hassle and guarantee stunning results, trust the experts at Magna Painting. Our cabinet painters specialize in cabinet sanding techniques for painting, ensuring your cabinets look flawless and last for years to come.
Ready to transform your cabinets? Contact us today for a FREE estimate in Shavano Park, Helotes, Boerne, and the surrounding San Antonio suburbs. Call us at 210-796-6601 and let our professionals handle the job, so you can enjoy a beautiful, refreshed space. With Magna Painting, your cabinets are in the best hands!


